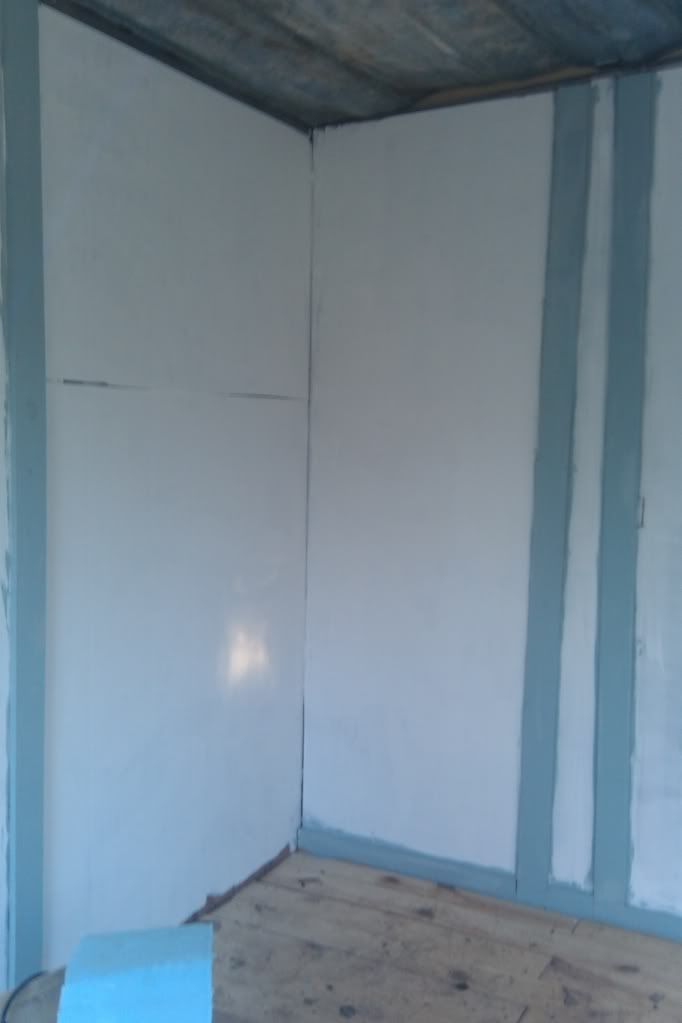
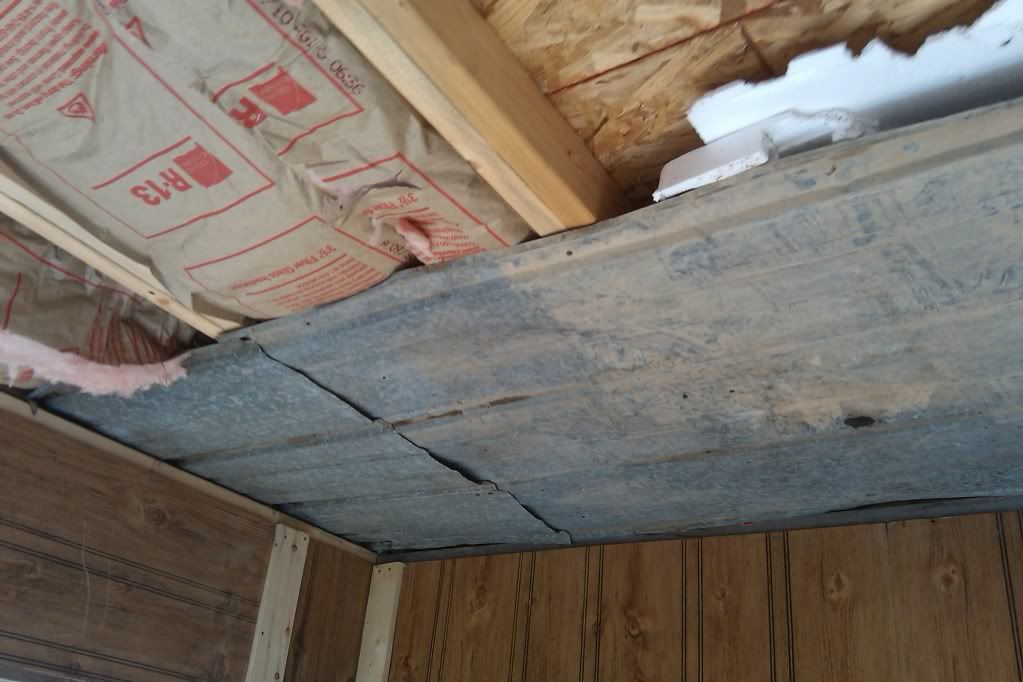
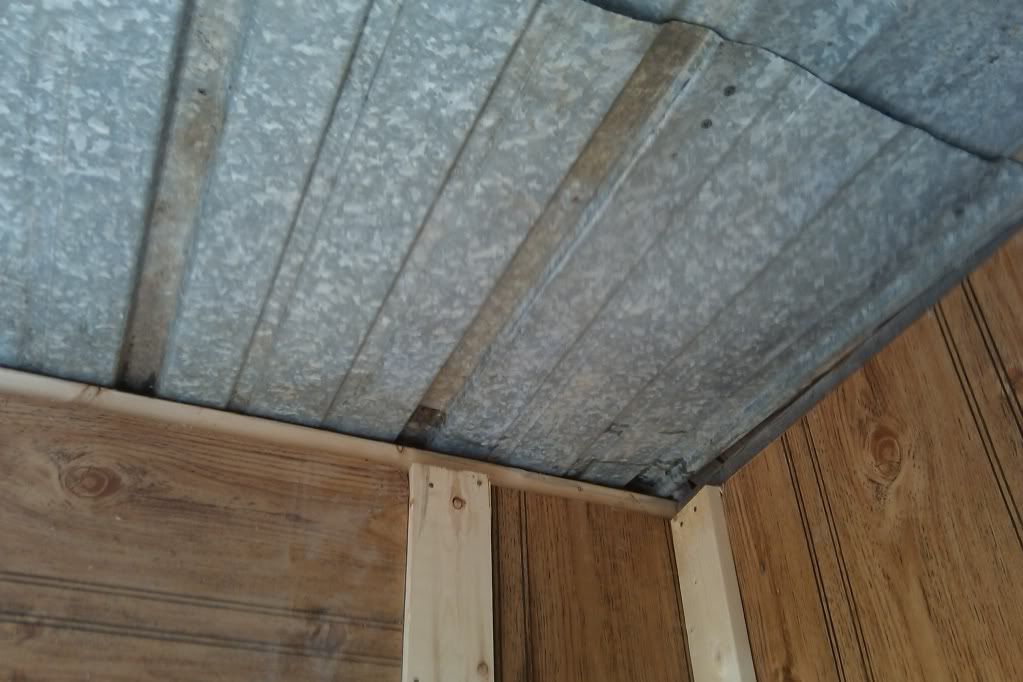
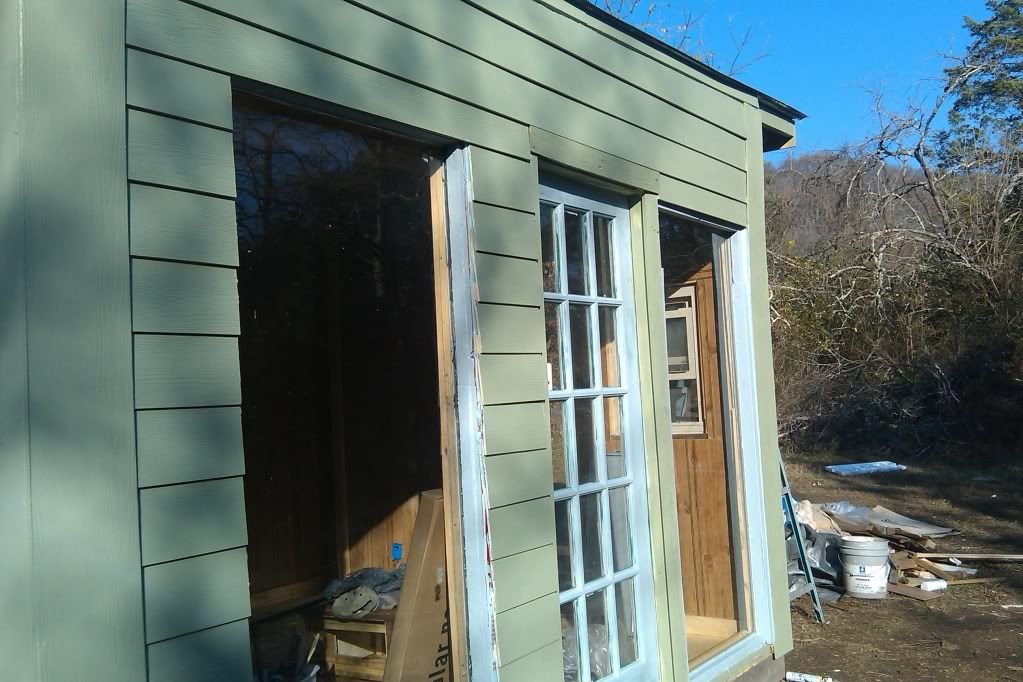
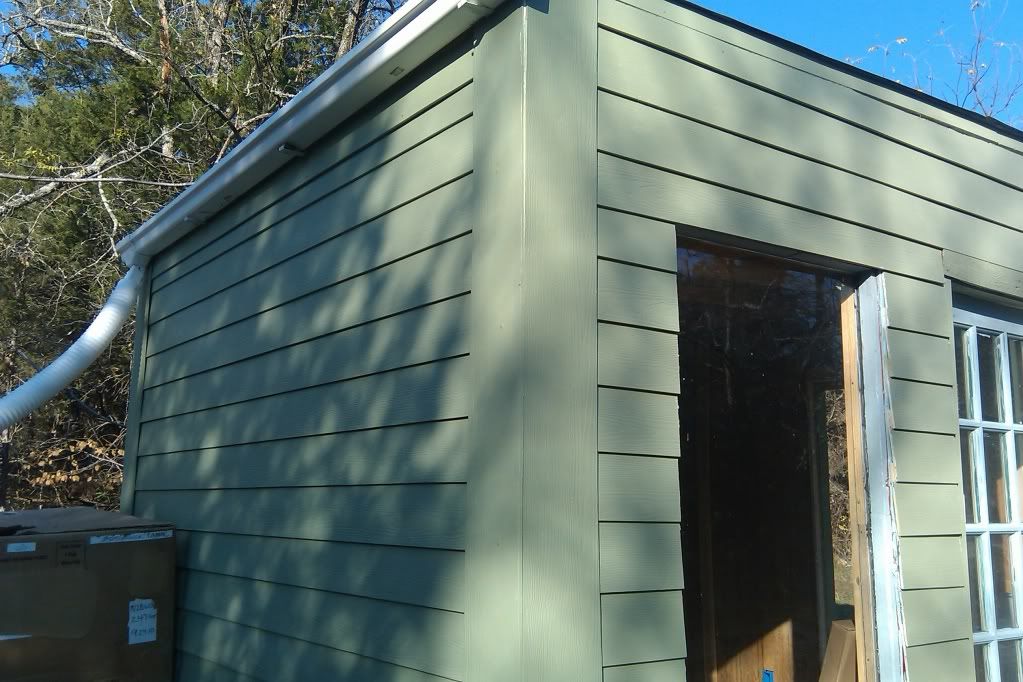
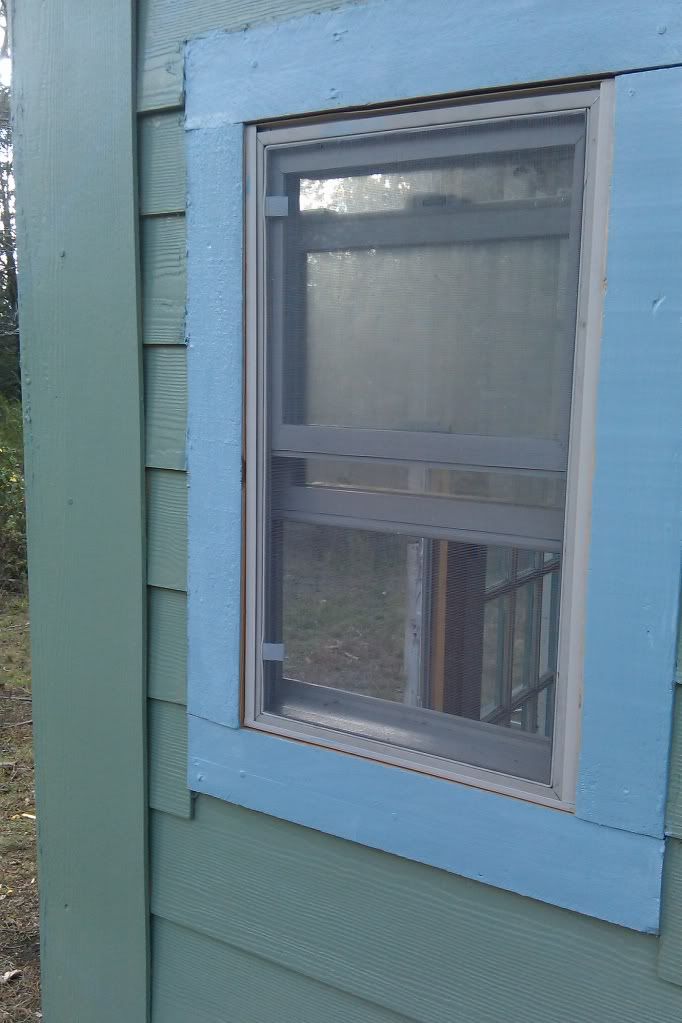
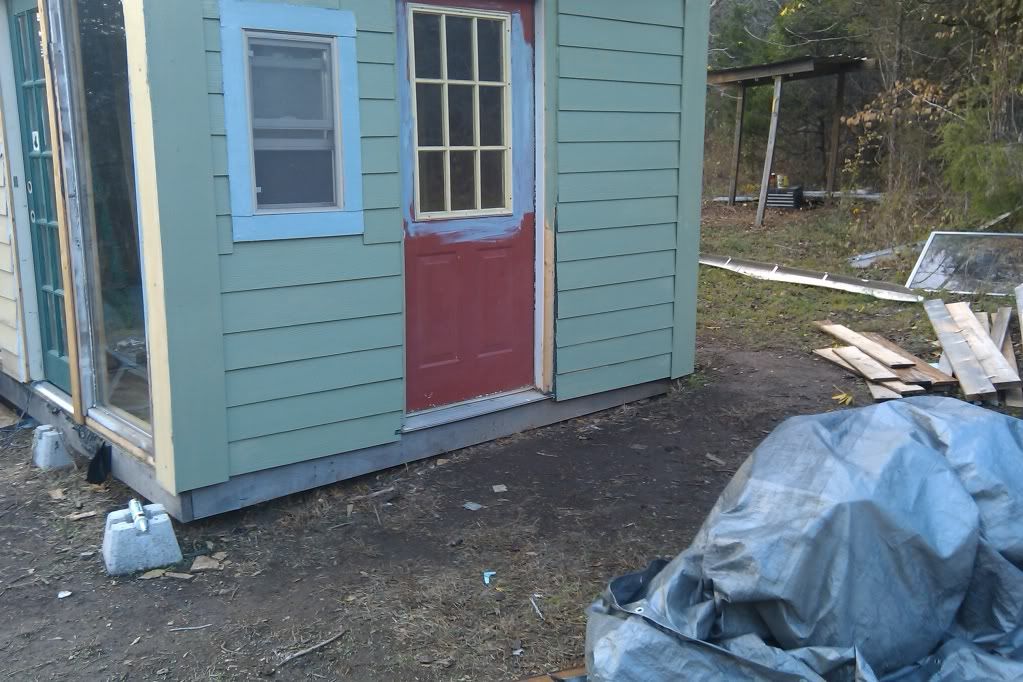
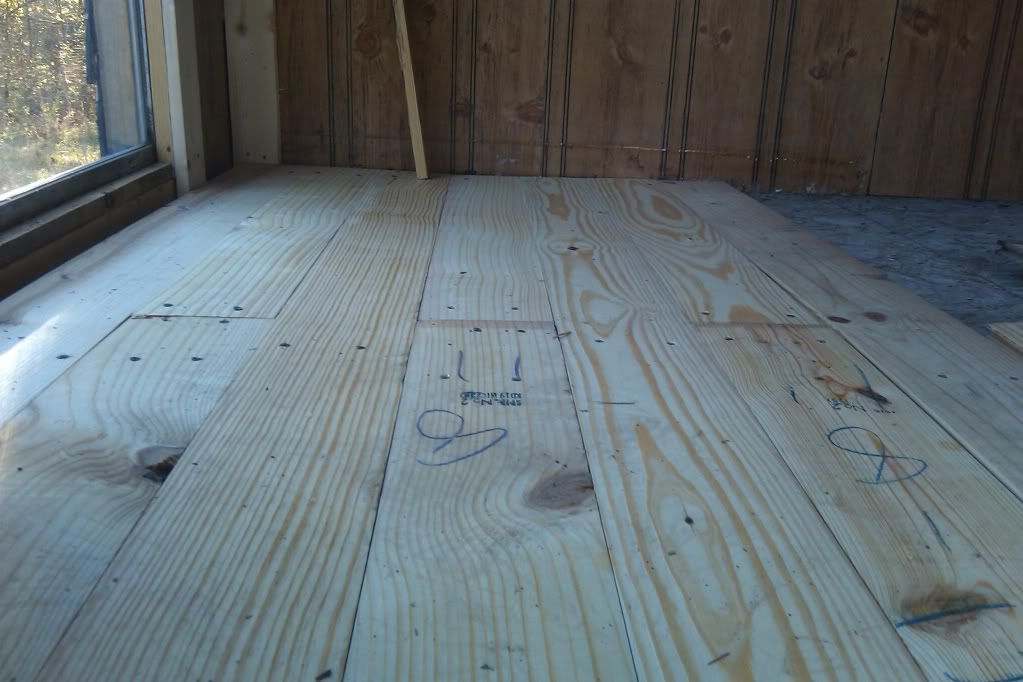
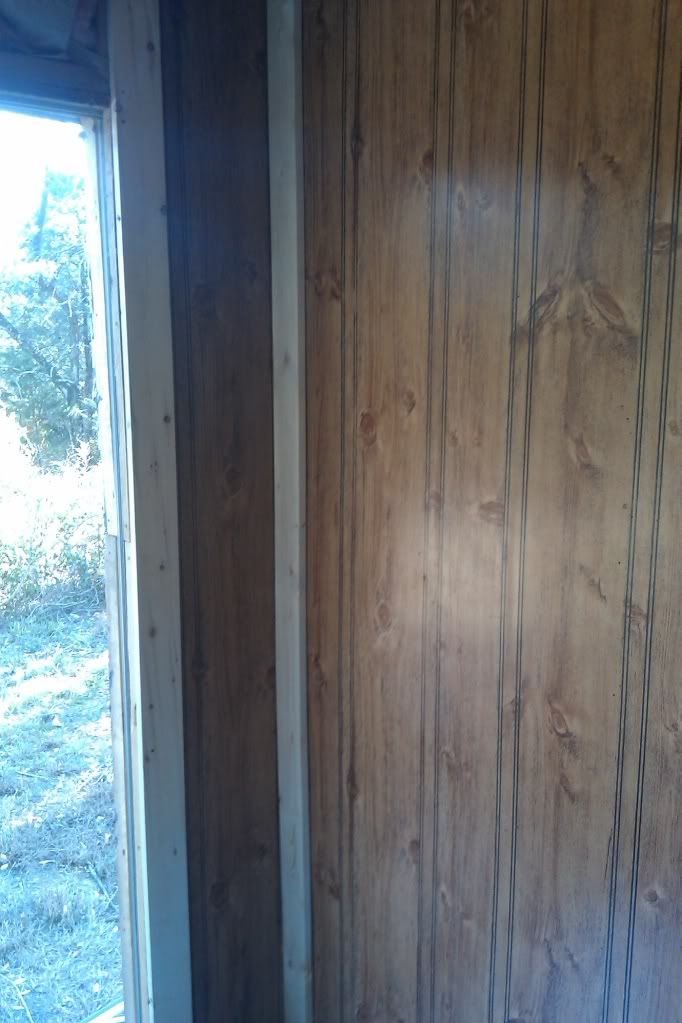
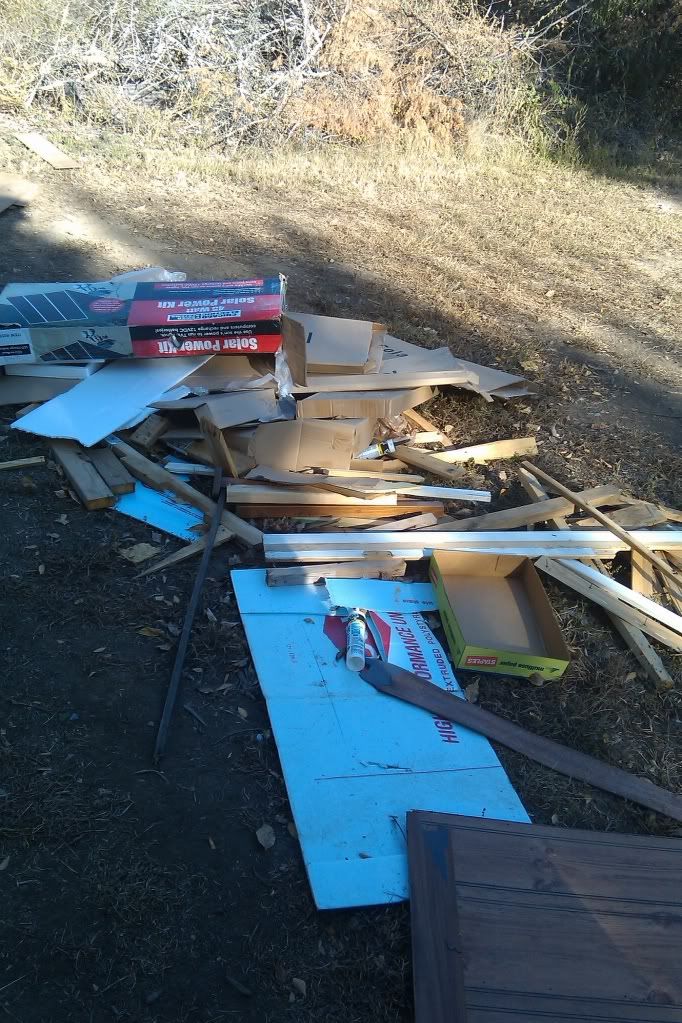
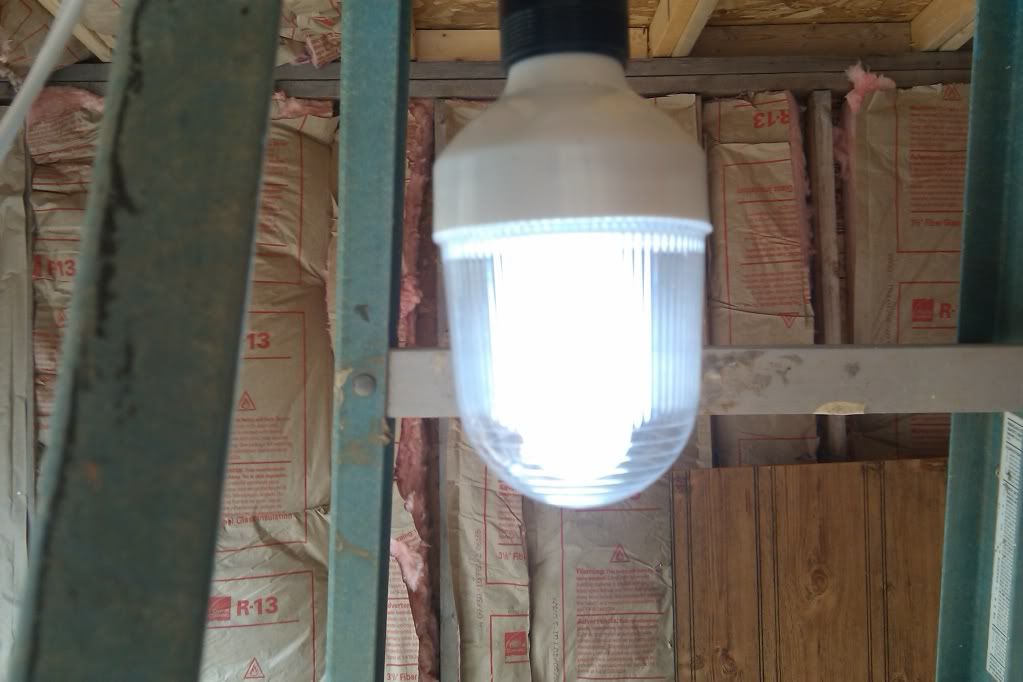
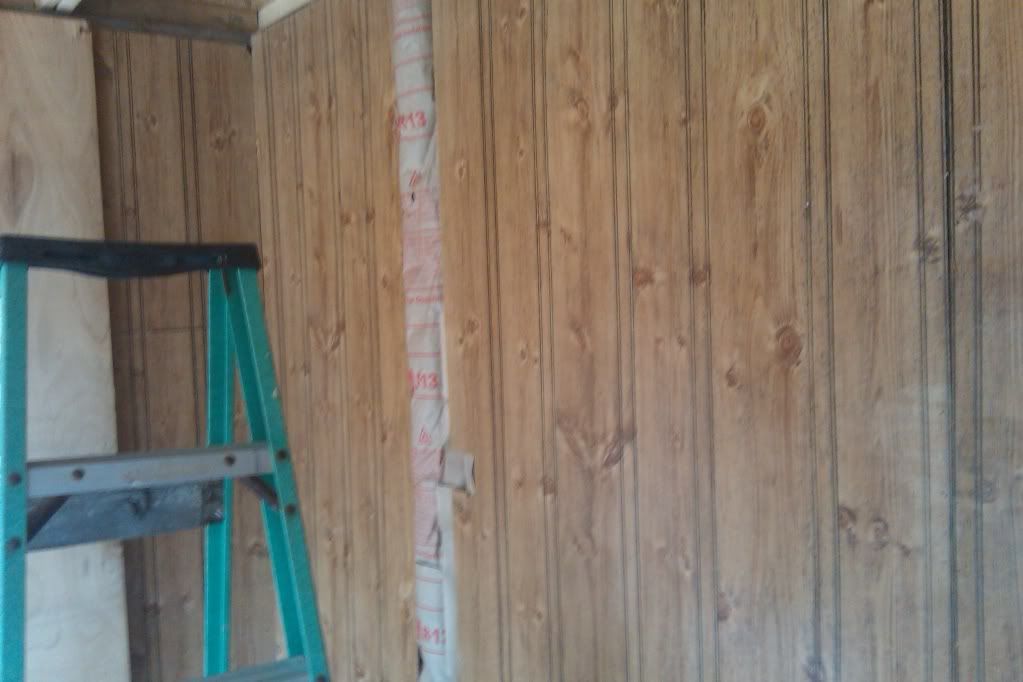
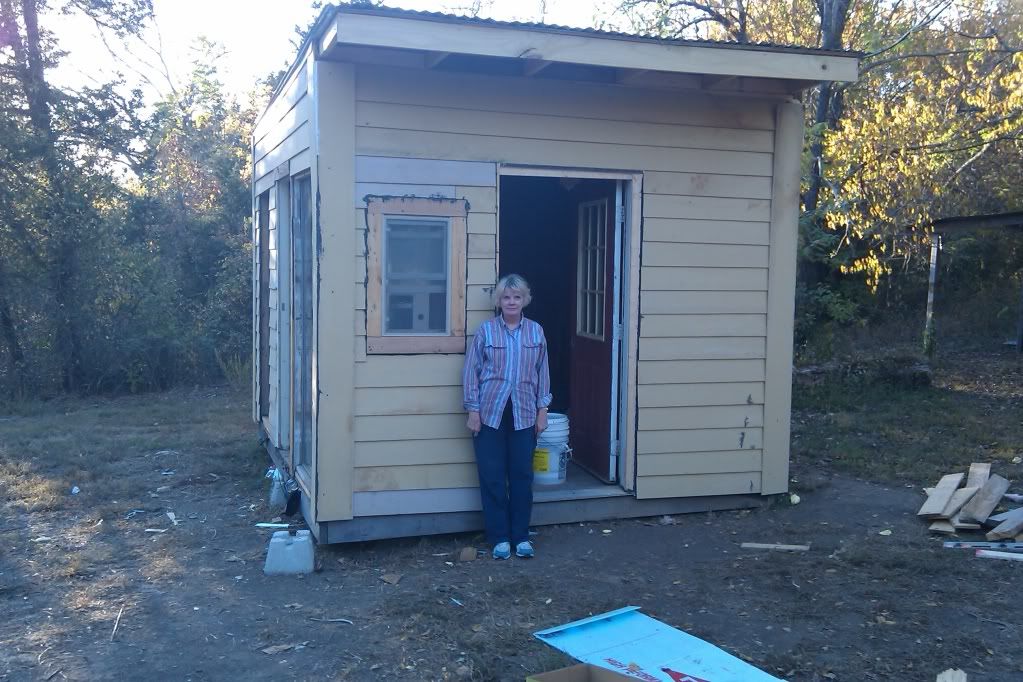
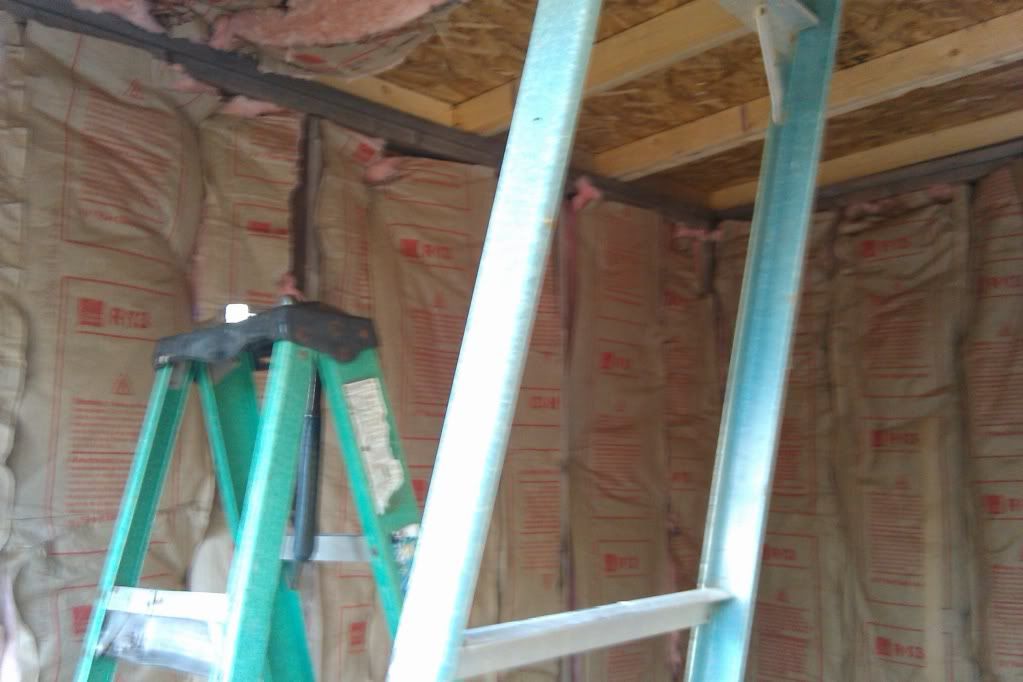
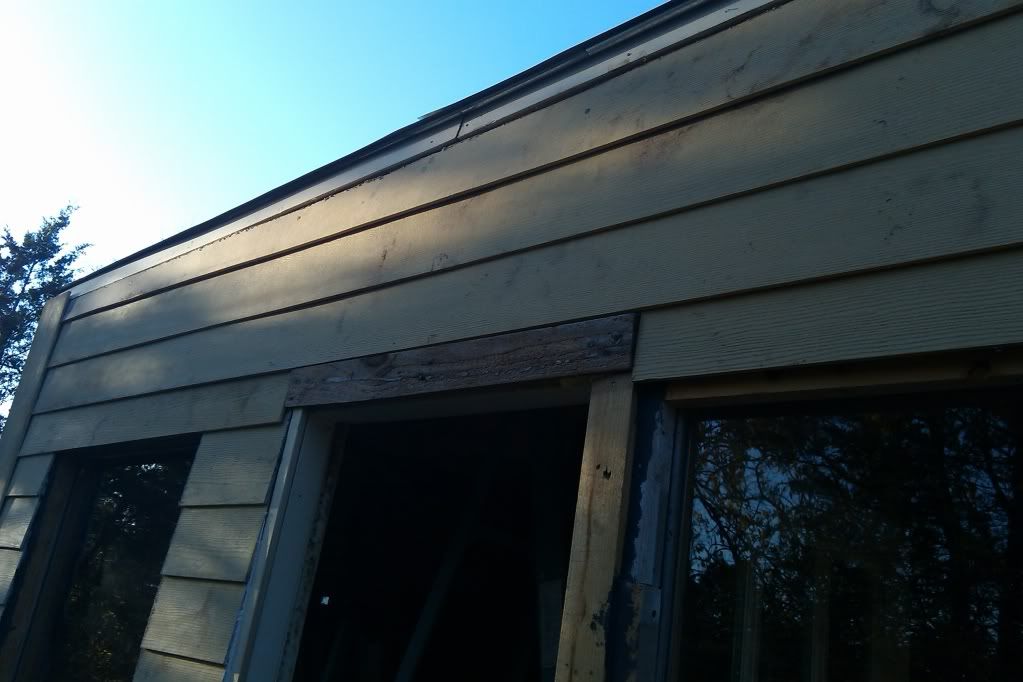
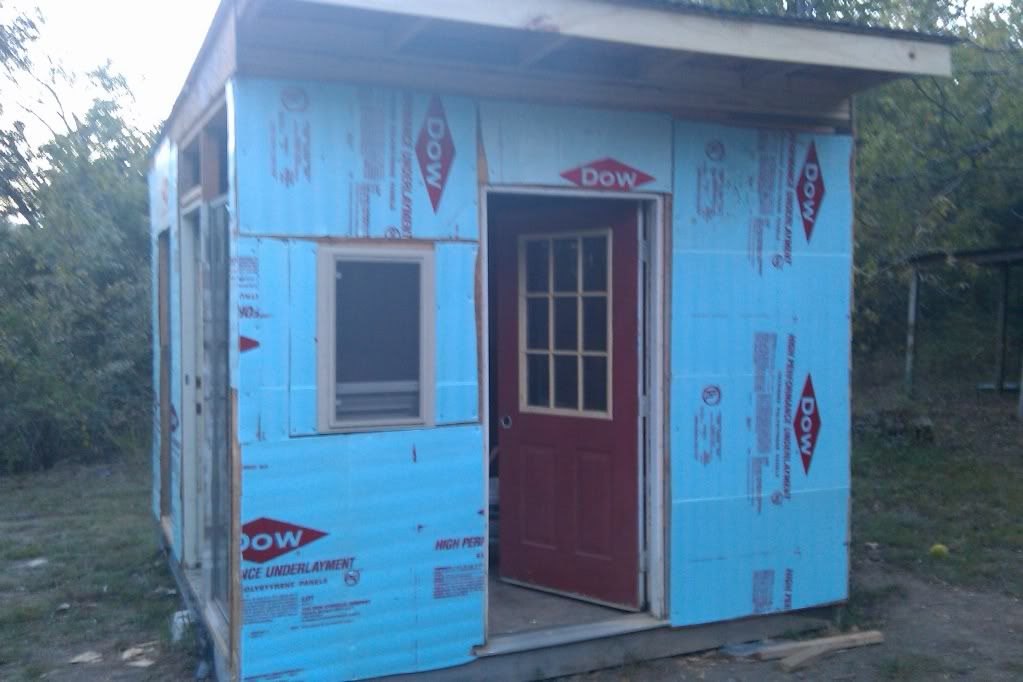
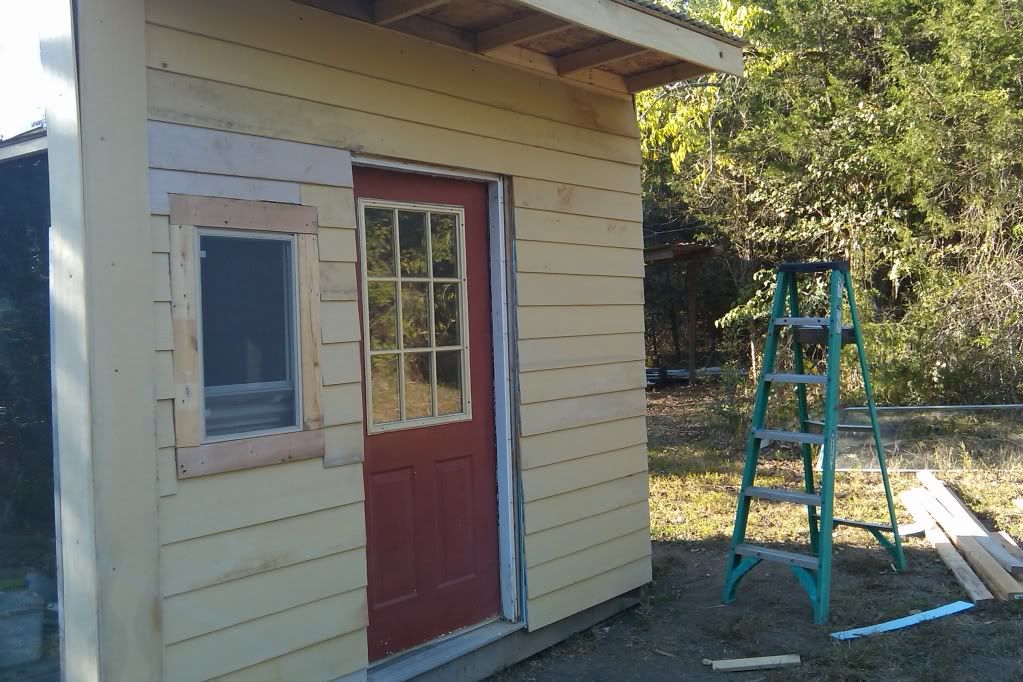
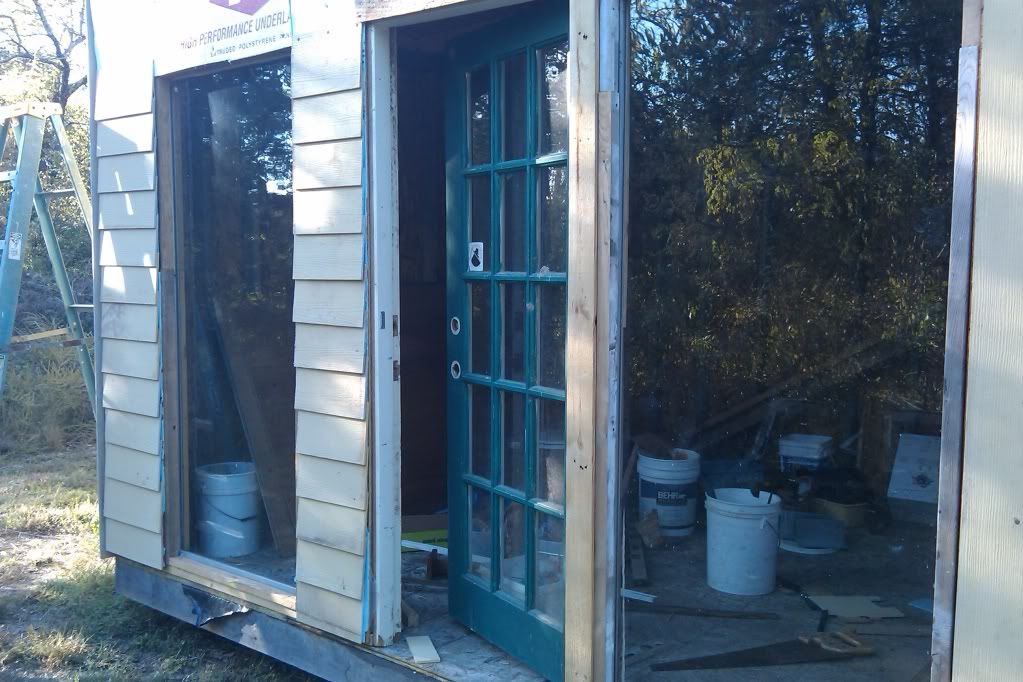
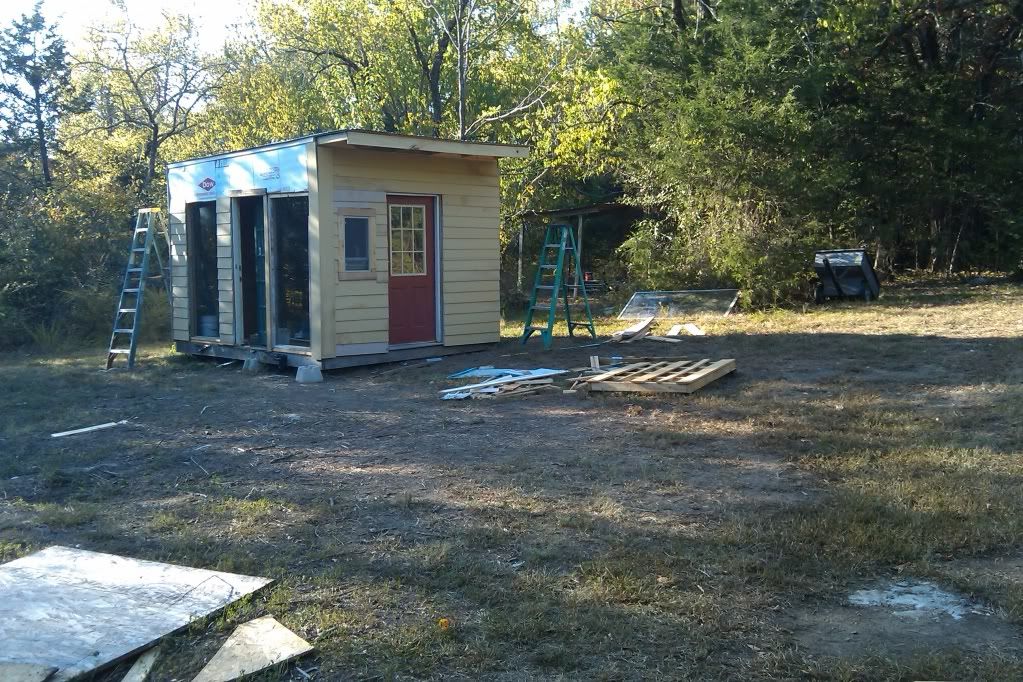
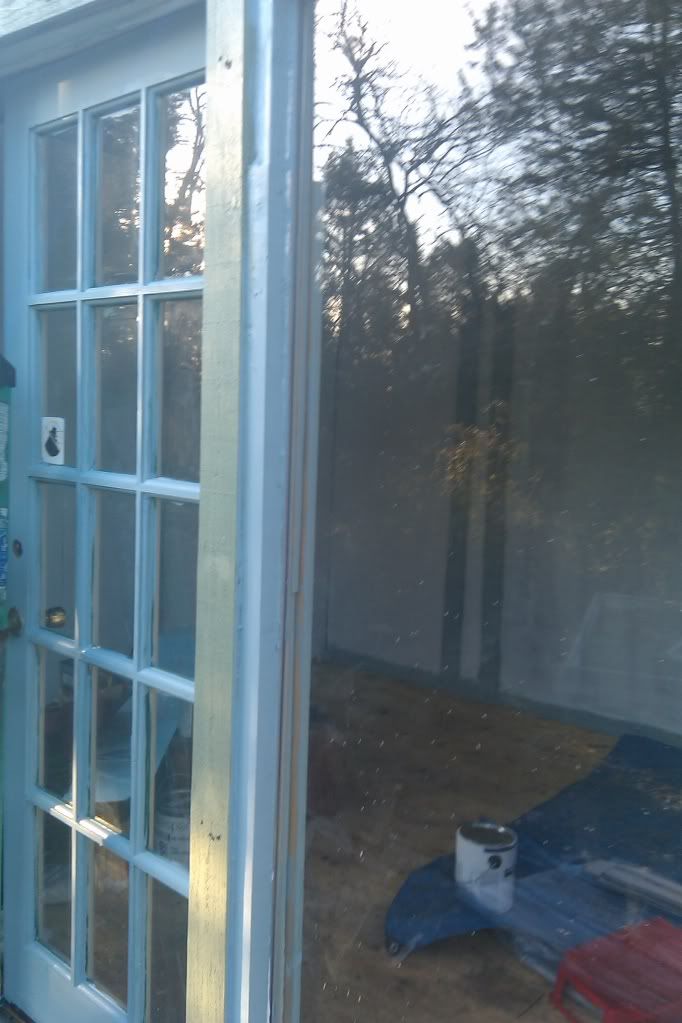
Nephew and brother in law plus me on a nice day in Tennessee equals a full coat of paint on the inside of the house. Plus, we finished the tin ceiling inside as well. Cool.
Attached are the pictures of the work today. We'll do a second coat in the A.M. and I'll post.
Laters.
In a wealthy society such as we have in the US, the amount of usable building material that gets thrown away is almost criminal. Using gleaning methods, one can build a safe, sanitary, and healthy house at a fraction of the cost of a 'conventional build'. This blog shows you one such journey.
Tuesday, January 4, 2011
Monday, November 22, 2010
Tin Roof? Rusted. Ok, Then How's About Tin Ceiling?
Fundage is a bummer, man, so I got the brilliant (with desperation being the mother of invention) idea of putting up a tin ceiling.
I'd gleaned some old barn metal from Rafe next door and am installing it as my ceiling over the insulation.
It's like, hep cat daddy-o. All the cool kids are doin' it.
And by 'it' I mean putting in tin ceilings. So my poverty has finally made me trendy.
I'd gleaned some old barn metal from Rafe next door and am installing it as my ceiling over the insulation.
It's like, hep cat daddy-o. All the cool kids are doin' it.
And by 'it' I mean putting in tin ceilings. So my poverty has finally made me trendy.
Friday, November 19, 2010
Painter? I Hardly Knew Her.
Thursday, November 18, 2010
Color Me Badd, er Badly
Thursday, October 28, 2010
I Was Simply Floored
When my less than powered tools gave out this evening, I had 1/3 of my wood floor finished.
On a complete whim, I stopped by Terry Garrison's Home Pro in Westmoreland on my way out of town this morning and asked Poochie (not to be confused with Squeegie, who used to work there) if he had anything out on the lot that would supplement my small number of pine wood boards for my flooring.
Poochie showed me a corner of the lot where lived a large order of tongue and groove pine that the orderee never picked up over two years ago. He said for me to go inside and talk to the manager and see what deal he could give me on the wood.
Keith, the manager, practically jumped at a chance to rid the lot of this wood.
I said all that to say...here are the pictures.
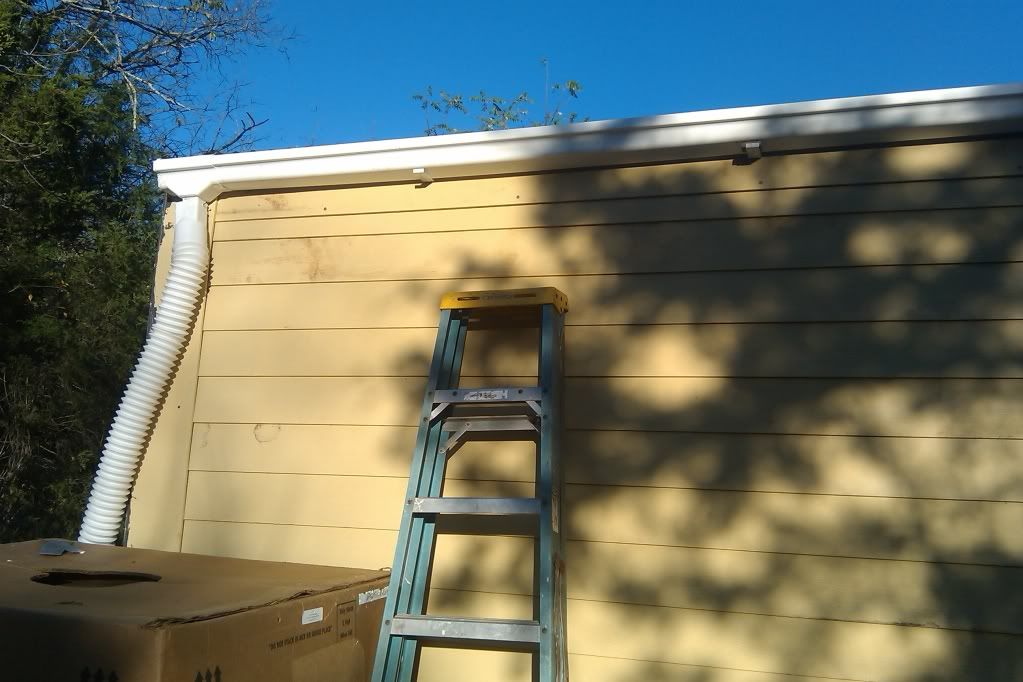
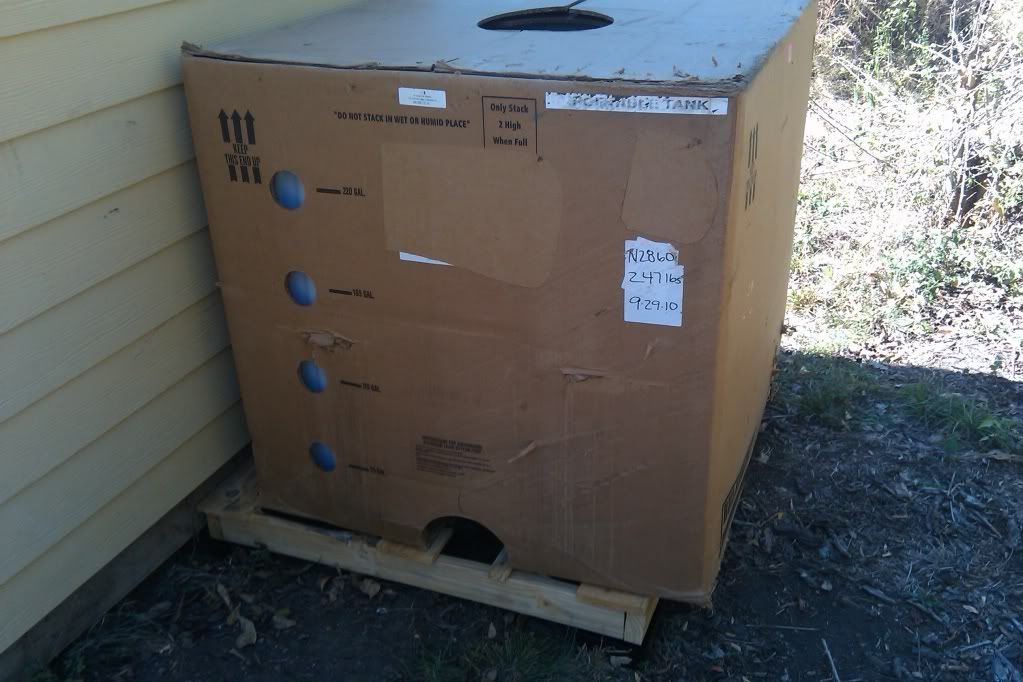
Also, I finished attaching the gutter and downspout to go in the 250 gallon water container. Only one day's worth of rain garnered, as you will see, over 55 gallons of water! Wowzer!
Excitement all around. Enjoy the pics, and click them to embiggen.
On a complete whim, I stopped by Terry Garrison's Home Pro in Westmoreland on my way out of town this morning and asked Poochie (not to be confused with Squeegie, who used to work there) if he had anything out on the lot that would supplement my small number of pine wood boards for my flooring.
Poochie showed me a corner of the lot where lived a large order of tongue and groove pine that the orderee never picked up over two years ago. He said for me to go inside and talk to the manager and see what deal he could give me on the wood.
Keith, the manager, practically jumped at a chance to rid the lot of this wood.
I said all that to say...here are the pictures.
Also, I finished attaching the gutter and downspout to go in the 250 gallon water container. Only one day's worth of rain garnered, as you will see, over 55 gallons of water! Wowzer!
Excitement all around. Enjoy the pics, and click them to embiggen.
Labels:
gutter,
rain barrel,
tongue and groove,
water collection
Thursday, October 21, 2010
It Was the Most I've Worked; It Was the Least I've Worked
With apologies to Dickens, here's what I mean by the title.
I'm worn out! Pooped! Dawg tired! With fatigue--as one is with child. I've been put through the wringer. I've been run ragged. Run down, exhausted, and, if you don't get it by now, I'm tired.
(Cue Lili Von Shtupp in Blazing Saddles)
And "Why are you tired?" one might ask.
Simple answer: I dunno.
All I did today was bring in another couple of solar panels, set up the water tank temporarily on an old pallet, and pretty much finish the interior paneling job (including the furring strips).
The water tank will sit on the northern side at the west corner of the house. It'll be fed from the gutter that will hang on the west slope of the roof.
Also, I chose some paint colors today. More on that later.
**Yawn** I'm going to bed.
Here are the promised pix. Notice that last picture; it's evidence that even a gleaner has construction 'trash' that can be repurposed. I will offer my scraps for free on Craigslist and hope someone can use them.
Tuesday, October 19, 2010
Power Up!
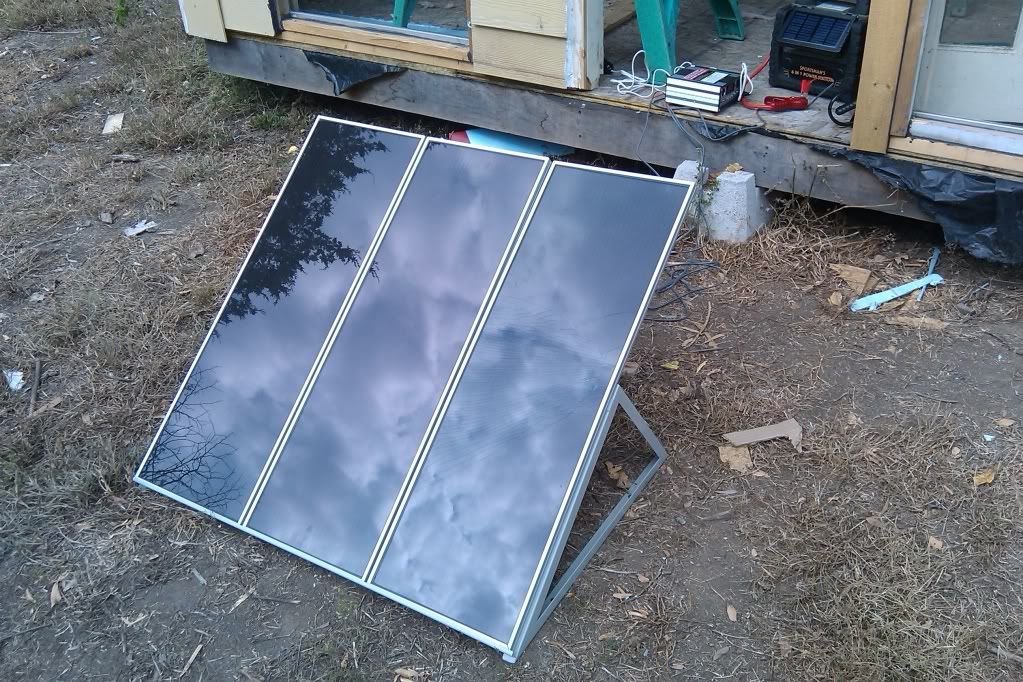
Today saw the installation, at least on a temporary basis, of electricity at Charlie's Chottage (or Carlie's Cottage?). I got a slightly damaged solar panel set (15 watts x 3 panels), a power box, and two 12v, 5w fluorescent light bulbs.
Also, I began the installation of the paneling (donated from Ralph, the next door neighbor) in the, uh, whatever I'll call it ultimately.
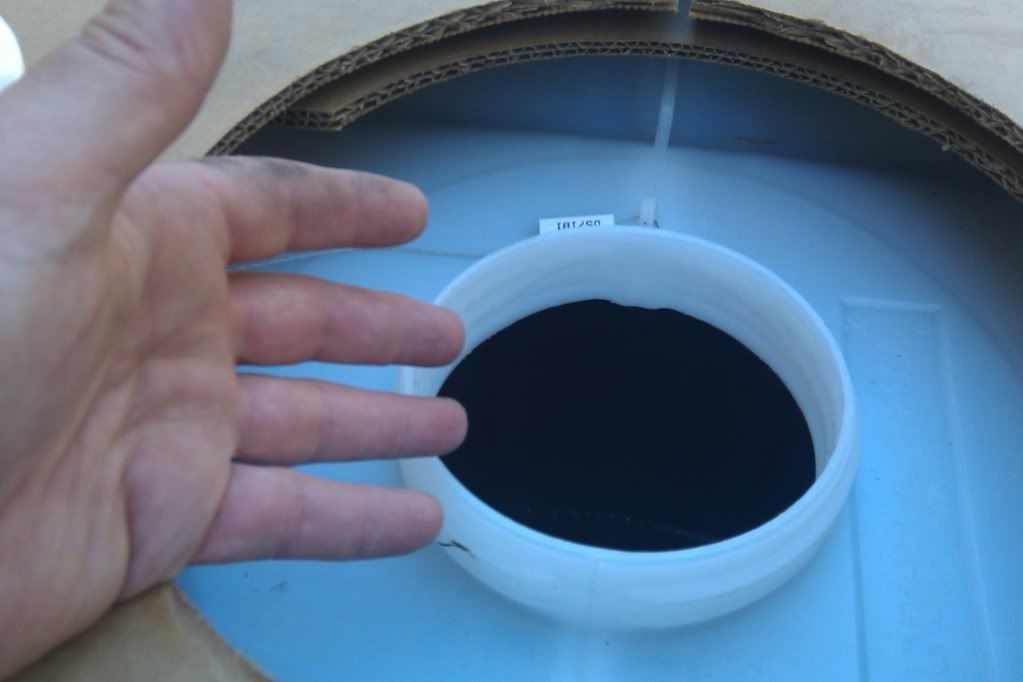
Also, I happened upon a 250 gallon food-grade plastic container with a top intake and a large spigot. It held candy syrup, so I have to rinse it before I can hook it up to the back gutter and began the rain collection.
Here are the photos; I'll post one of the container when I get it cleaned.
Also, I began the installation of the paneling (donated from Ralph, the next door neighbor) in the, uh, whatever I'll call it ultimately.
Also, I happened upon a 250 gallon food-grade plastic container with a top intake and a large spigot. It held candy syrup, so I have to rinse it before I can hook it up to the back gutter and began the rain collection.
Here are the photos; I'll post one of the container when I get it cleaned.
Friday, October 15, 2010
Snug as a Thug with a Slug (That's the urban version)
| My sweet sister next to what she calls, inappropriately, "the doll house". |
--exterior trim and caulking doing
--interior insulation finished
--itchy eyes and arms
All of which leads me to say that by November 1, 2010, I should move in.
Green house with white trim, anyone? Anyone?
| R-13 plus the styrofoam plus the Hardie Board. Pretty tight! |
| South wall now finished; see the white caulk? |
Thursday, October 7, 2010
Close to Enclosure
Over the past few days, with the weather holding steady in the 70s for highs with no precip, it's been perfect to get the exterior almost completed in time for the raindrops to come. When they do, I'll be snugly ensconced inside, working on the insulation, paneling, and the pine board flooring.
Here are the pics from the progress over the past days. All done by widdle ol' me. Some of the Hardie Board, being scavenged, was already painted, but will be repainted. Some of it is simply dirty.
The color scheme I've hit upon is green siding with white trim and doors. I think the 4" trim will show up nicely.
I especially like the framing around the window; it seems rustic somehow.
As if a one-room, off the grid, shed roof house wasn't rustic enough.
Click the pics to embiggen.
Here are the pics from the progress over the past days. All done by widdle ol' me. Some of the Hardie Board, being scavenged, was already painted, but will be repainted. Some of it is simply dirty.
The color scheme I've hit upon is green siding with white trim and doors. I think the 4" trim will show up nicely.
I especially like the framing around the window; it seems rustic somehow.
As if a one-room, off the grid, shed roof house wasn't rustic enough.
Click the pics to embiggen.
Thursday, September 30, 2010
The Horizon of Finishdom within Sight
Attached are pictures of the two doors up and framed in.
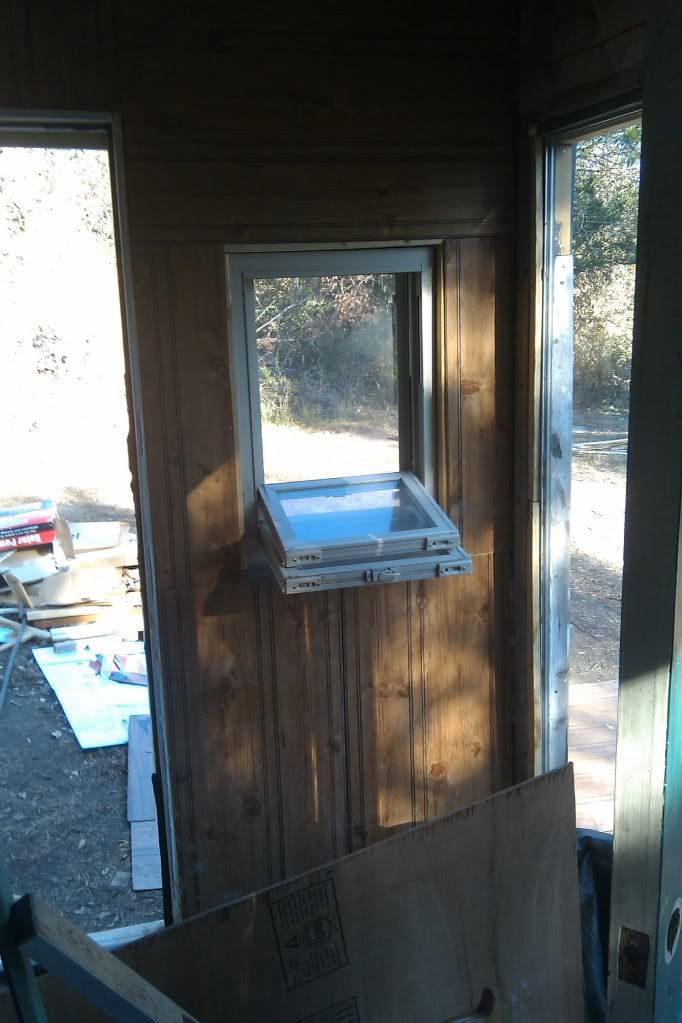
Also, you see the east wall taking shape, including the only operational window in the place.
Doors come for free; one from Ralph (neighbor) and one from Tim's sister (Tim worked with me a couple of days last month.). They included the frames, so that made things so much easier.
The window was a find in an abandoned storage unit. It's a double paned window with a screen. 30"x19", so not huge, but perfect for my widdle space.
The two sliding glass doors are from my cache of them gleaned at the apartment complex in Mississippi over two years ago.
A Craigslist sale of Shawn's old college bike a week ago netted $300 for The Cause as well. I used the 'free money' to buy my roofing material, a good 1"X6"X10' fascia board, and some other things.
I'm all goose pimply like a great pimply goose over the progress and the fact that it's all costing so little.
By the way, any ideas out there concerning color schemes? I'm thinking khaki green exterior walls with white trim and white doors.
ETC (Estimated Time of Completion) now mid-October.
Also, you see the east wall taking shape, including the only operational window in the place.
Doors come for free; one from Ralph (neighbor) and one from Tim's sister (Tim worked with me a couple of days last month.). They included the frames, so that made things so much easier.
The window was a find in an abandoned storage unit. It's a double paned window with a screen. 30"x19", so not huge, but perfect for my widdle space.
The two sliding glass doors are from my cache of them gleaned at the apartment complex in Mississippi over two years ago.
A Craigslist sale of Shawn's old college bike a week ago netted $300 for The Cause as well. I used the 'free money' to buy my roofing material, a good 1"X6"X10' fascia board, and some other things.
I'm all goose pimply like a great pimply goose over the progress and the fact that it's all costing so little.
By the way, any ideas out there concerning color schemes? I'm thinking khaki green exterior walls with white trim and white doors.
![]() |
| East Facing Side. Note window on left (SE corner). |
ETC (Estimated Time of Completion) now mid-October.
![]() |
| South Facing Side. Window/Door/Window. |
Tuesday, August 31, 2010
Don't Look Now, 'Cause it's Very, Very House-Like
Tim and Josh returned to the house site for a second day--and what progress was made! Fantabulous amounts thereunto. Siding on the north and west; roof OSB plus outside insulation on; a stationary glass window installed. Wow!
See pics below. We (the lads and I) hope to have the entire outside finished (sans painting the exterior) by Thursday of next week.
![]() |
| Josh inside; Tim uptop |
![]() |
| Timmy builds up the eastern plate to create a fall for roof. |
![]() |
| Roof Supports |
Tuesday, August 24, 2010
After Three Months-Progress!
![]() |
| Tim (left) and Josh Affix the Styrofoam(tm) Barrier on the OSB |
Greg S., my friend and church brother, 'loaned' me two guys from his work crew, Tim and Josh, to help me get the framing work I'd done in May squared and leveled.
They did it, and had only a modicum of corrective carpentry to accomplish. The whole process of watching these two framing masters work with what I'd done earlier was gratifying to say the least.
They want to come back next week and help me get the framing in for the two sets of French doors and to get the roof framing done. I, then, can come in and finish the roof and put in the fiberglass insulation and sheerock.
Saturday, May 8, 2010
Three Down, er, UP...One to Go!
Got two other walls up today. Will get the last one up on Monday, Tuesday at the latest.
Note that the wall to the right has the large header and three openings for the windows/doors that will be fixed sliding glass door/french door/fixed sliding glass door. Yes, I know I have to add another 2x4 stud at each door opening.
Following that, we sheath the skeleton with 1/2" plywood, wrap the house frame, and add the 1/2" Corning insulation.
Then comes the roofing.
Finally, install the windows/doors, add the Hardie Board, and finish the interior.
Do that and Bob's your uncle.
Oh, and here's a link to a You Tube viddie of me and Bucky today (you'll have to tilt your head sideways to see it well): http://www.youtube.com/user/need4news#p/a/u/0/4RzNTN-PSlA
Note that the wall to the right has the large header and three openings for the windows/doors that will be fixed sliding glass door/french door/fixed sliding glass door. Yes, I know I have to add another 2x4 stud at each door opening.
Following that, we sheath the skeleton with 1/2" plywood, wrap the house frame, and add the 1/2" Corning insulation.
Then comes the roofing.
Finally, install the windows/doors, add the Hardie Board, and finish the interior.
Do that and Bob's your uncle.
Oh, and here's a link to a You Tube viddie of me and Bucky today (you'll have to tilt your head sideways to see it well): http://www.youtube.com/user/need4news#p/a/u/0/4RzNTN-PSlA
Tuesday, April 6, 2010
Wall-E! (Tip o' th' Hat to Barry)
Ran down to the house site this pip emma and threw up the wall seen in the previous post. It be brace-ed and relatively stable, and, with my imminent departure to worlds unknown for the next 10 days, it'll be quite the feather in my construction hat if The Thing still stands upon my return thereunto--if my construction hat has a place for feathers. Perhaps I'm getting my Village People characters mix-ed up.
Notice, too, that the mid-to-late afternoon sun is largely shaded on my southern (windowed) and partially shaded on the western wall. Nice going, Mother Nature; you put the trees in exactly the right spot for my cooling comfort during the impending Dog Days ahead.
On the way out, this monstrosity lay in my path. I waited for his sluggish self to slytherin off before Bucky and I could make good our escape.
We celebrated with gas station biscuits and fried thingummies.
Notice, too, that the mid-to-late afternoon sun is largely shaded on my southern (windowed) and partially shaded on the western wall. Nice going, Mother Nature; you put the trees in exactly the right spot for my cooling comfort during the impending Dog Days ahead.
On the way out, this monstrosity lay in my path. I waited for his sluggish self to slytherin off before Bucky and I could make good our escape.
We celebrated with gas station biscuits and fried thingummies.
Friday, April 2, 2010
Wall Y'all
After finishing the last small section of subflooring in the northwest corner of the bedroom, I began laying out and marking for the erection of the west wall of 10'4". The walls will be 8' up to a ledge where the 1 in 12 shed roof will start. The area between the top of the wall and the roof will be glass in a large, low angle triangle to the taper in back and have glass in the about 12" of front area above the south wall.
Also, after making a fortuitous wrong turn in Lebanon, I stumbled upon a cache of curbed items and then gleaned the material below--some 1x12s, a 10'x10' silver tarp in perfect condition, and several sheets of transparent green roofing material that can eventually replace the worn tin shed roof some day.
My sister and hubby (and dog) are in town to speak to the cabinet maker and the contractor. She's really pleased with the house as it's progressing and also likes my build. Glad she's glad.
More tomorrow--hopefully have at least one wall up and stable.
Also, after making a fortuitous wrong turn in Lebanon, I stumbled upon a cache of curbed items and then gleaned the material below--some 1x12s, a 10'x10' silver tarp in perfect condition, and several sheets of transparent green roofing material that can eventually replace the worn tin shed roof some day.
My sister and hubby (and dog) are in town to speak to the cabinet maker and the contractor. She's really pleased with the house as it's progressing and also likes my build. Glad she's glad.
More tomorrow--hopefully have at least one wall up and stable.
Thursday, April 1, 2010
The View From Above
My NAPA chum Jerry Kirby took me down to Lebanon today in his 1957 Cessna. Jerry has a late 1940s Swift in which he does aerobatics, but we didn't take that one, sadly.
Anyhoo, Jerry had told me to take my camera and we could get some shots of the land from the Eye in the Sky. And hairrrrr they are:
You can see that Jan's house is almost done, whilst mine has the subfloor on the left (and you can almost make out the little shed to the north). This is taken to from the southeast.
Again, my little 12x10 rectangle can be seen about 100 feet from Jan's house, now seen from the northwest somewhat.
More work and another post this weekend. Hopefully, a wall will be up!
Then, Jerry and I flew over towards the Nashville Raceway and landed at a private airstrip that is commonly owned by pilots that live on the edges of the strip. One of his buddies, a guy named Steve, had us to a great lunch of soup and salad out on his back deck on a gorgeous day.
At the end of lunch, Steve said to me, "How'd you like to go up in the Stearman biplane and do some aerobatics?" Steve restores and works on planes; his current project is a 1927 Waco, but he has previously restored a 1943 Stearman trainer. This open cockpit biplane is much heavier than Jerry's Cessna, and much slower, too. But after strapping in the front seat, putting on the headgear and trying to stay calm, Steve and I took off and flew over the speedway nearby. Steve did loops and turns and rolls, including an Immelmann, and he did some stalls and dives. After about 20 breathtaking minutes, we came back to earth.
Jerry and I then headed for home and on the way, he let me take the controls some. All in all, a great day.
Anyhoo, Jerry had told me to take my camera and we could get some shots of the land from the Eye in the Sky. And hairrrrr they are:
You can see that Jan's house is almost done, whilst mine has the subfloor on the left (and you can almost make out the little shed to the north). This is taken to from the southeast.
Again, my little 12x10 rectangle can be seen about 100 feet from Jan's house, now seen from the northwest somewhat.More work and another post this weekend. Hopefully, a wall will be up!
Then, Jerry and I flew over towards the Nashville Raceway and landed at a private airstrip that is commonly owned by pilots that live on the edges of the strip. One of his buddies, a guy named Steve, had us to a great lunch of soup and salad out on his back deck on a gorgeous day.
At the end of lunch, Steve said to me, "How'd you like to go up in the Stearman biplane and do some aerobatics?" Steve restores and works on planes; his current project is a 1927 Waco, but he has previously restored a 1943 Stearman trainer. This open cockpit biplane is much heavier than Jerry's Cessna, and much slower, too. But after strapping in the front seat, putting on the headgear and trying to stay calm, Steve and I took off and flew over the speedway nearby. Steve did loops and turns and rolls, including an Immelmann, and he did some stalls and dives. After about 20 breathtaking minutes, we came back to earth.
Jerry and I then headed for home and on the way, he let me take the controls some. All in all, a great day.
Saturday, March 27, 2010
It Simply Floors Me
"My God, man! You've struck sub-floor!"
While I'm not sure Hawkeye said those exact words to Frank Burns, the sentiment fits my work today. Bucky and I spent five hours on a clear, warm March day, working on my sub-floor.
The 3/4" T&G was supplied by Terry Garrison of Homepro(tm). Mucho appreciado. Now I'm channeling Col. Potter for some reason. Anywho.
12'x10' means four sheets of plywood to cover the floor joists, right? 3 whole sheets at 8'x4' plus 3/4ths of another sheet for the 2'x12' section. Yes, that's what it would be if the entire structure were A.) square and 2.) Level.
Which, to my dismay, I found it was decidedly not so. Neither square nor level.
Joe Gregory--he of years of framing experience--said, Yoda-like, "Square you must be; level would be nice." You wouldn't believe how far OUT of square I was. I say, 'was' because I am not now out of square (Neither is the house! See what I did there? See...it's...never mind.).
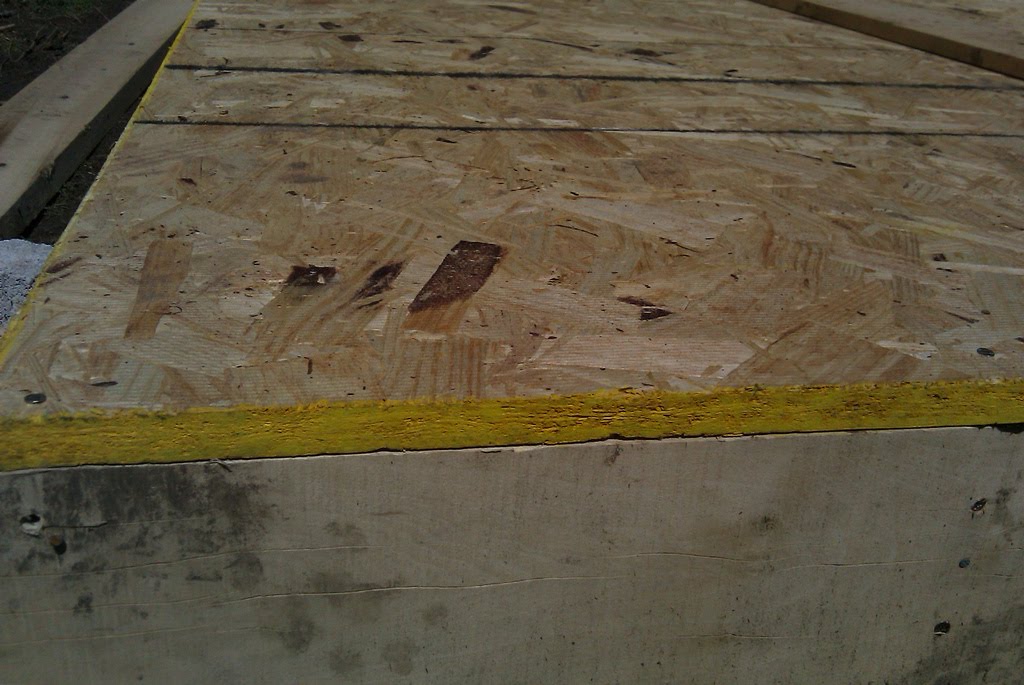
So what's a dirt-cheap builder to do? After a phone consultation with my brother Sid and with input from our neighbor Ralph, I simply squared the outer 2"x6" floor joists to the square created by the tongue and groove plywood. This was accomplished by removing the outer joists on three sides and then reattaching them to the front 12' joist and lining the reattached joists up to the edge of the plywood. The first picture shows the front 2"x6"x12' joist with said plywood nailed to the front edge of the joist. On the left in the background, one can spy the temporarily removed 2"x6"x10' side joist that was eventually reattached along the outside edge of the plywood to make it all squarsies.
And that worked. With one small issue--my house is not exactly 12'x10'; no, rather, it's 12'x10'4". The 12' front and back joists are actual 2"x's since they were from Compton's Sawmill. I hadn't taken the extra 4" into account (2" for each joist). That meant that the fourth plywood sheet was slightly too small to cover the remaining open joist area. What you see here is deceptive; I have, yes, 5/6ths of the floor attached and square. The back right corner (as the next photo shows) is actually not attached and leaves a small gap of--you guessed it--two feet, four inches wide and four feet long.
So, I must get my gleaning hands on about a 1/2 sheet of 3/4" plywood to finish the job.
All in all, a great day of problem solving and learning.
Next up: Wall Raisin' (and that doesn't mean dried grapes attached to walls, it means--well, you know).
P.S. Poor Buckmeister! Sunburned, filthy, tick-infested and tired. Bucky was, too. But he was happy having chased turkeys and rocks all day in the woods (he caught the rocks--they're more his speed). He did a dance on the part of the floor that is finished as the picture suggests.
P.P.S. Some of the intrepid readers of this blog have asked for pix of my sister's house. Here's one (left) showing the front porch waiting for stairs to be built up to it.
While I'm not sure Hawkeye said those exact words to Frank Burns, the sentiment fits my work today. Bucky and I spent five hours on a clear, warm March day, working on my sub-floor.
The 3/4" T&G was supplied by Terry Garrison of Homepro(tm). Mucho appreciado. Now I'm channeling Col. Potter for some reason. Anywho.
12'x10' means four sheets of plywood to cover the floor joists, right? 3 whole sheets at 8'x4' plus 3/4ths of another sheet for the 2'x12' section. Yes, that's what it would be if the entire structure were A.) square and 2.) Level.
Which, to my dismay, I found it was decidedly not so. Neither square nor level.
Joe Gregory--he of years of framing experience--said, Yoda-like, "Square you must be; level would be nice." You wouldn't believe how far OUT of square I was. I say, 'was' because I am not now out of square (Neither is the house! See what I did there? See...it's...never mind.).
So what's a dirt-cheap builder to do? After a phone consultation with my brother Sid and with input from our neighbor Ralph, I simply squared the outer 2"x6" floor joists to the square created by the tongue and groove plywood. This was accomplished by removing the outer joists on three sides and then reattaching them to the front 12' joist and lining the reattached joists up to the edge of the plywood. The first picture shows the front 2"x6"x12' joist with said plywood nailed to the front edge of the joist. On the left in the background, one can spy the temporarily removed 2"x6"x10' side joist that was eventually reattached along the outside edge of the plywood to make it all squarsies.
And that worked. With one small issue--my house is not exactly 12'x10'; no, rather, it's 12'x10'4". The 12' front and back joists are actual 2"x's since they were from Compton's Sawmill. I hadn't taken the extra 4" into account (2" for each joist). That meant that the fourth plywood sheet was slightly too small to cover the remaining open joist area. What you see here is deceptive; I have, yes, 5/6ths of the floor attached and square. The back right corner (as the next photo shows) is actually not attached and leaves a small gap of--you guessed it--two feet, four inches wide and four feet long.
So, I must get my gleaning hands on about a 1/2 sheet of 3/4" plywood to finish the job.
All in all, a great day of problem solving and learning.
Next up: Wall Raisin' (and that doesn't mean dried grapes attached to walls, it means--well, you know).
P.S. Poor Buckmeister! Sunburned, filthy, tick-infested and tired. Bucky was, too. But he was happy having chased turkeys and rocks all day in the woods (he caught the rocks--they're more his speed). He did a dance on the part of the floor that is finished as the picture suggests.P.P.S. Some of the intrepid readers of this blog have asked for pix of my sister's house. Here's one (left) showing the front porch waiting for stairs to be built up to it.
Subscribe to:
Posts (Atom)